Magnolia Watercolor Tutorial
Welcome to this step-by-step watercolor tutorial where we'll explore the process of painting magnolia flower. Magnolias are known for their unique beauty and delicate petals, making them an interesting subject to study and recreate with watercolors. Throughout this tutorial, I'll break down the painting process into manageable steps, allowing you to easy follow along.

Step 1. Pencil sketch and first wash
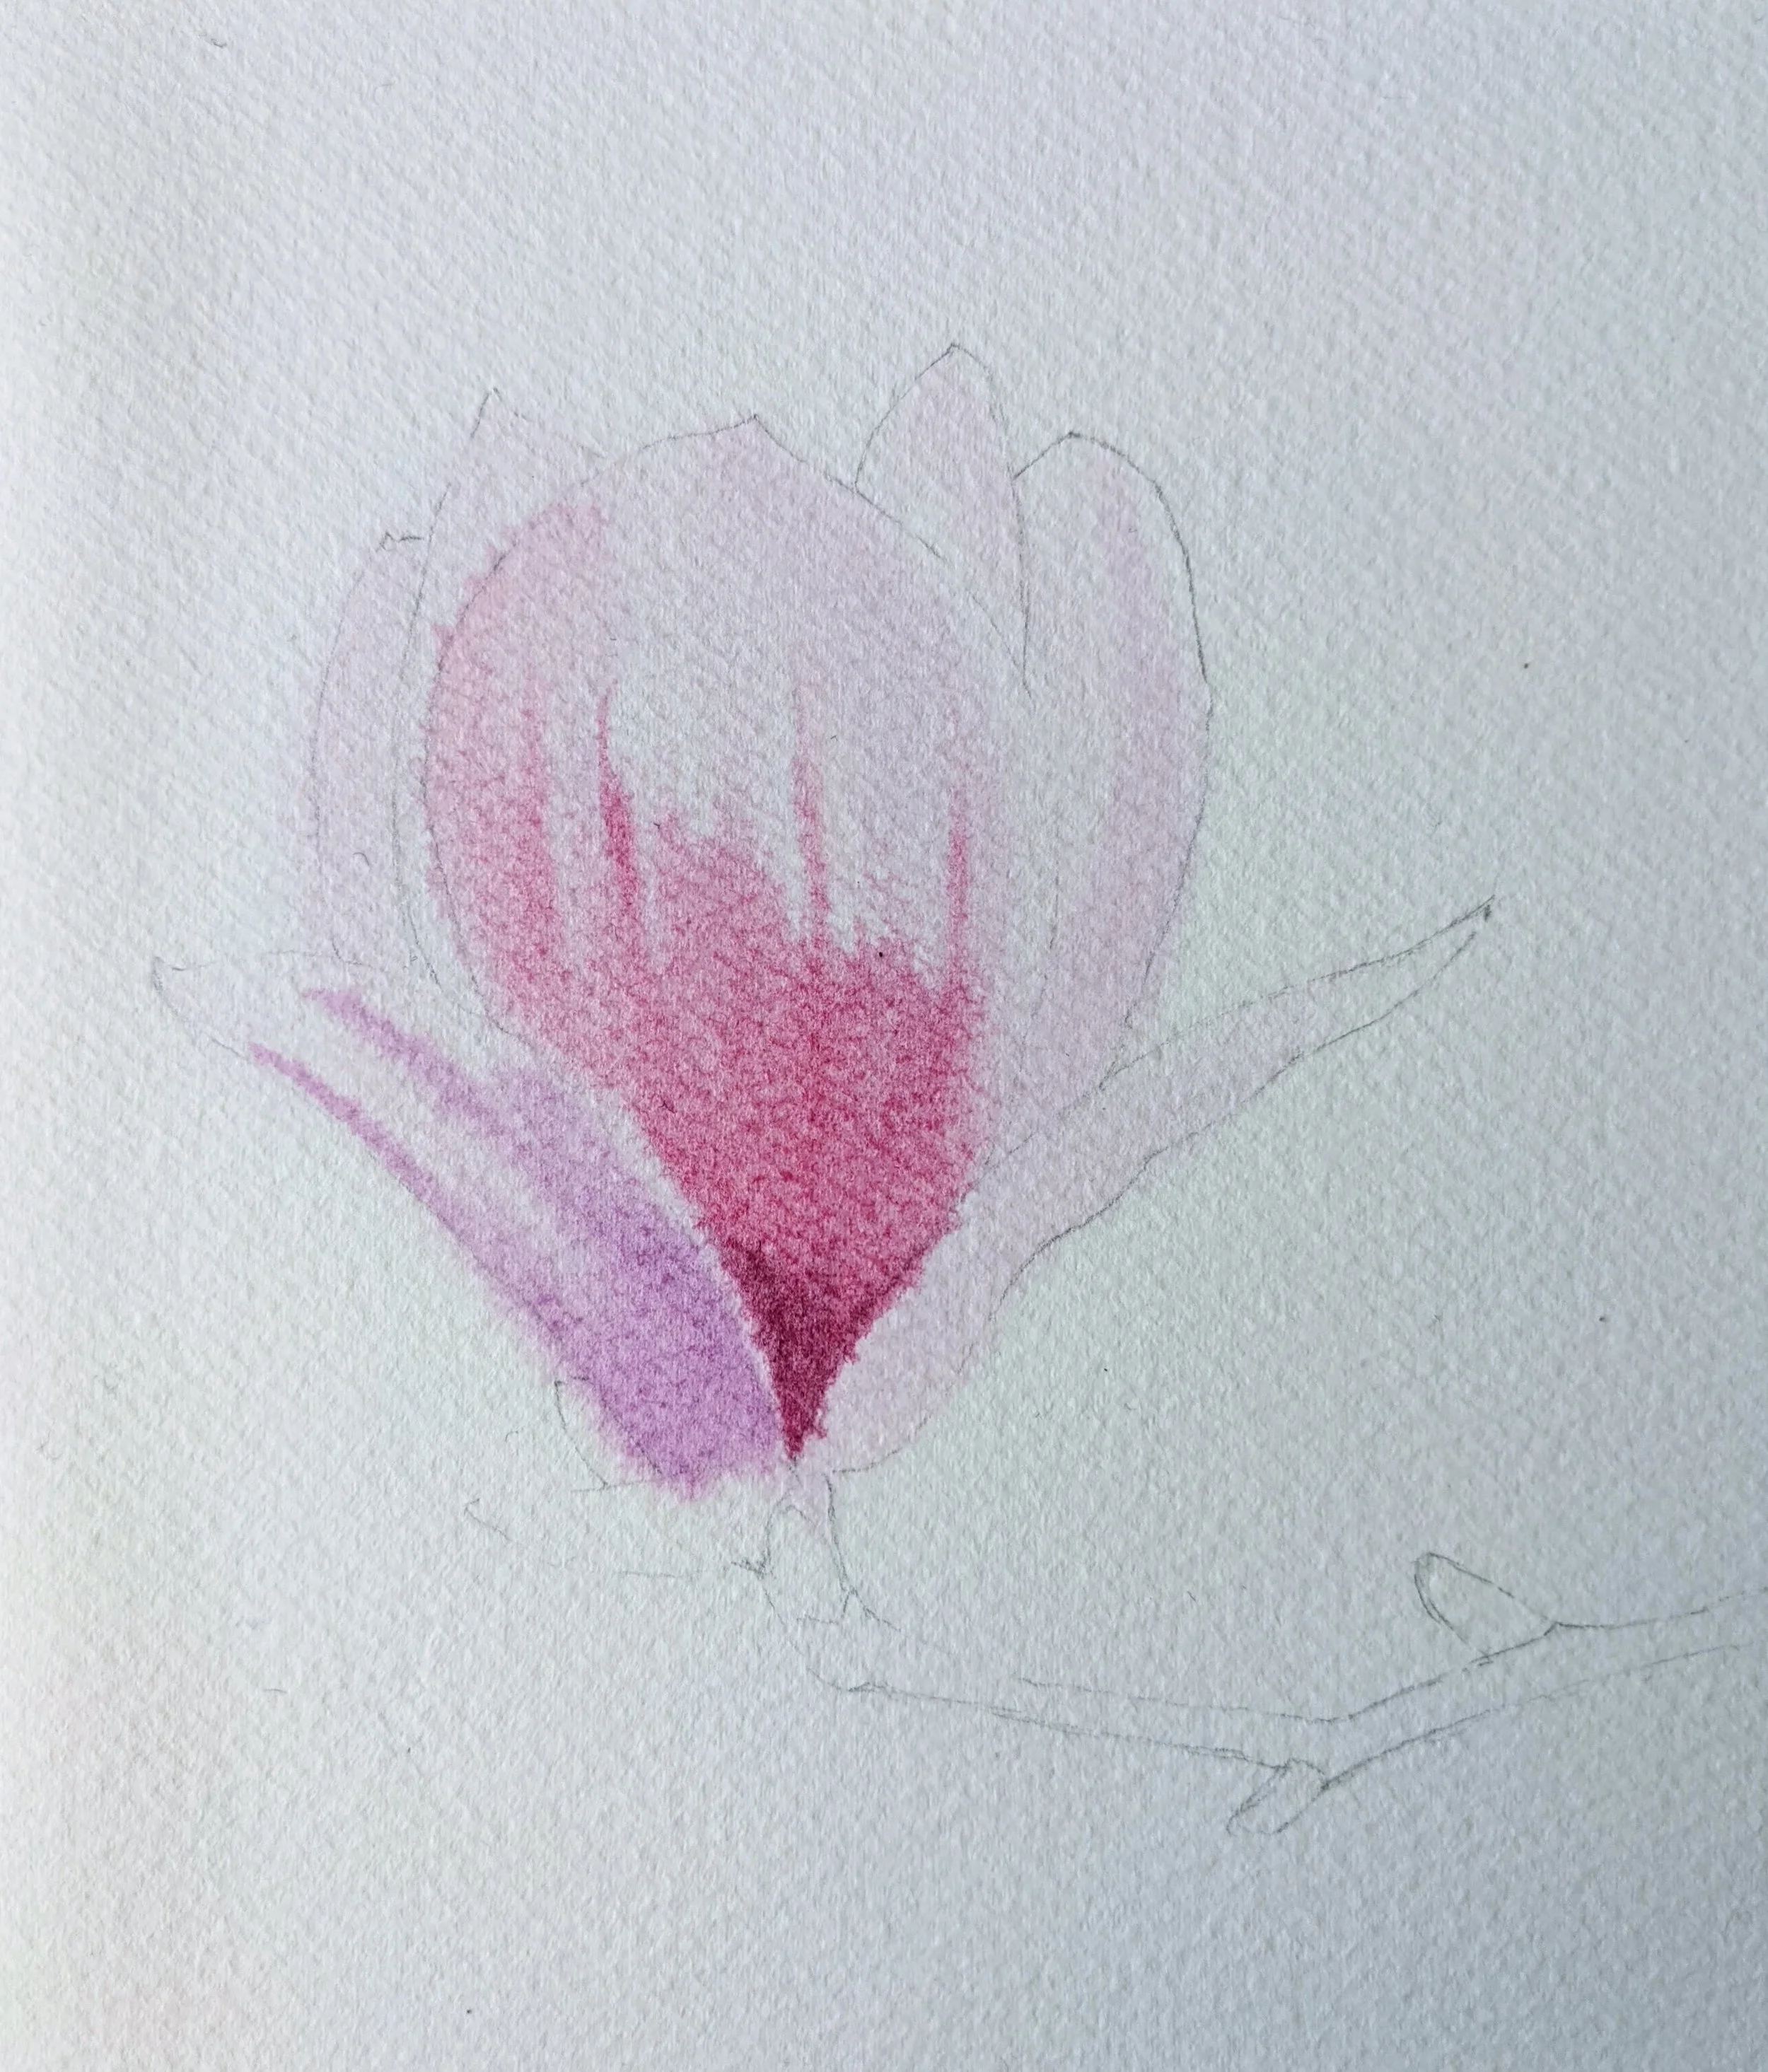
First, we start with a light pencil sketch paying attention to the overall form and the curve of the petals.
Observe the variations in color within the flower. For the bottom left petal, add a touch of purple to create a slightly darker and cooler tone. While the paper is still wet, deepen the color of the middle petal by adding more quinacridone rose, creating a soft gradient effect. Additionally, use a small amount of perylene violet to further darken the bottom area of the flower.
At this stage I also added some soft lines on the petals using the tip of the brush to enhance their texture.
Watercolor paper (Etchr sketchbook 300 gsm, 100% cotton)
Watercolor brushes (one medium round brush, one small brush for details)
Watercolor palette (you can use a white ceramic plate)
Watercolor paints (Quinacridone Rose, Perylene Violet, Purple, Sepia, Sap green, Cobalt blue, Cobalt turquoise)
The exact supplies I used are not critical, but I've listed everything below. My sketchbook is from Etchr and it has a 100% cotton paper (but for sketching it’s not critical), watercolor paint (either tube or pan), and a couple of brushes. Here’s the reference photo I’ve used.
Supplies I Used:
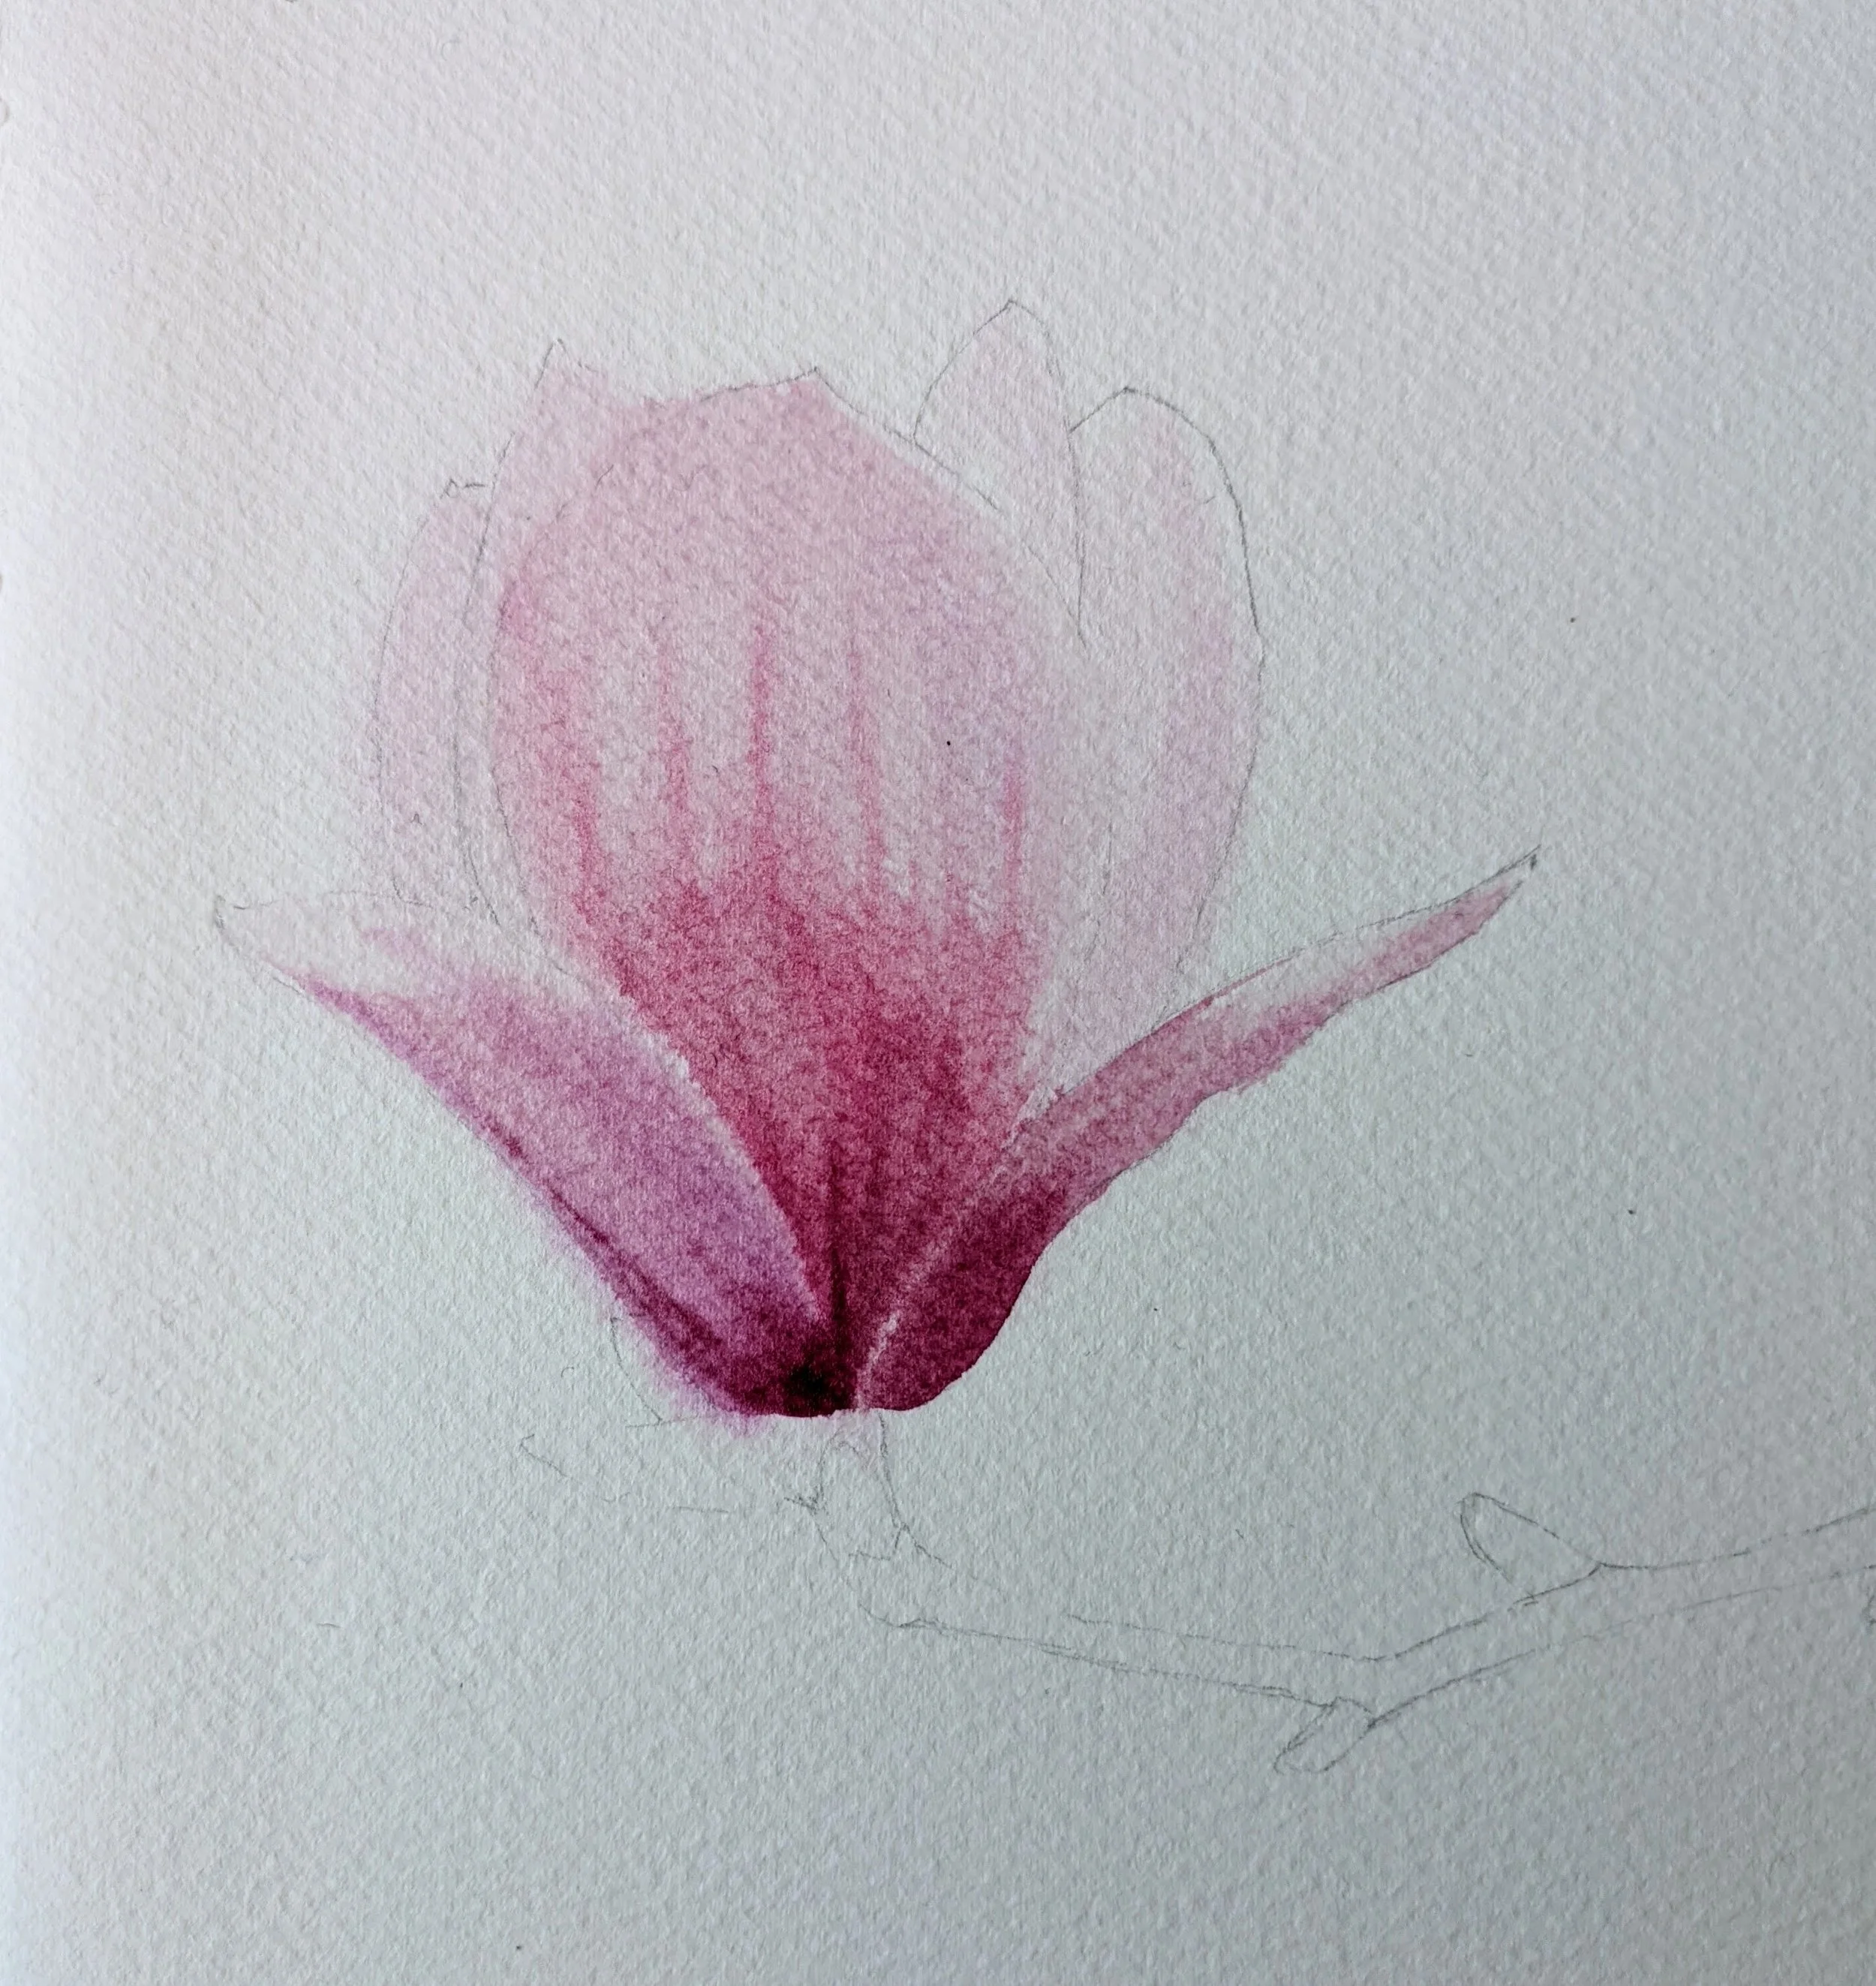
Step 2. Deepening colors and working on the right bottom petal
In this step, we will intensify the shadows on the middle and bottom left petals by adding more perylene violet. This rich, dark red-purple shade will enhance the depth of the gradients on both of the petals.
Then, use the same technique to paint the bottom right petal paying attention to light and shadow.
You can use a handy “erasing” technique on the edges between the petals. Simply use a damp, clean brush to gently wipe off some of the pigment, revealing the highlights and adding dimension to the flower.
Step 3. Working on the remaining petals and adding delicate veins
Continuing with the same approach, we paint the remaining petals, keeping in mind that they are further away from the viewer and require less detail.
With a thin brush and a saturated mix of quinacridone and perylene, delicately add fine veins to all the petals to achieve the distinctive character of magnolia flowers.

Step 4. Working on the branch and leaf buds
In this step, we shift our focus to the branch and leaf buds. Use sepia for the branch and sap green for the leaf buds, paying attention that the lower part of the branch should appear darker as it is in the shadow.
Use the erasing technique to retrieve the lost highlights on the leaf buds and the branch. Gently use a damp clean brush to lift off some of the pigment, revealing the underlying white of the paper and creating subtle highlights.

Step 5. Adding an abstract background
At this point, you have the option to conclude your painting at Step 4 or join me in experimenting with an abstract background using the wet-on-wet technique.
Begin by thoroughly wetting the paper, ensuring you avoid wetting the flower itself. Once the paper is wet, start applying your chosen colors to the background. Enjoy the fluidity as the colors blend and interact, creating a captivating diffused effect. In my painting, I used cobalt blue and cobalt turquoise, and added a touch of quinacridone rose to harmonise with the flower.
Allow the colors to flow and blend, embracing the spontaneous nature of the wet-on-wet technique. Feel free to experiment with different color combinations to create your desired effect. Remember, this step adds a touch of artistic freedom and abstract flair to your magnolia painting.

I hope you found this tutorial informative and enjoyable. Give it a try, enjoy the process and feel free to experiment and add your own personal touch. Happy painting!
If you're interested in learning watercolor more seriously, I regularly offer private in-person watercolor workshops in my home studio in Adliswil or group watercolor workshops in Zürich. Subscribe to my newsletter and Instagram to get the announcements!