Yellow Freesia Watercolor Tutorial
Learn how to paint this beautiful yellow freesia in this month’s watercolor tutorial. Each step is broken down so you can easily follow along!
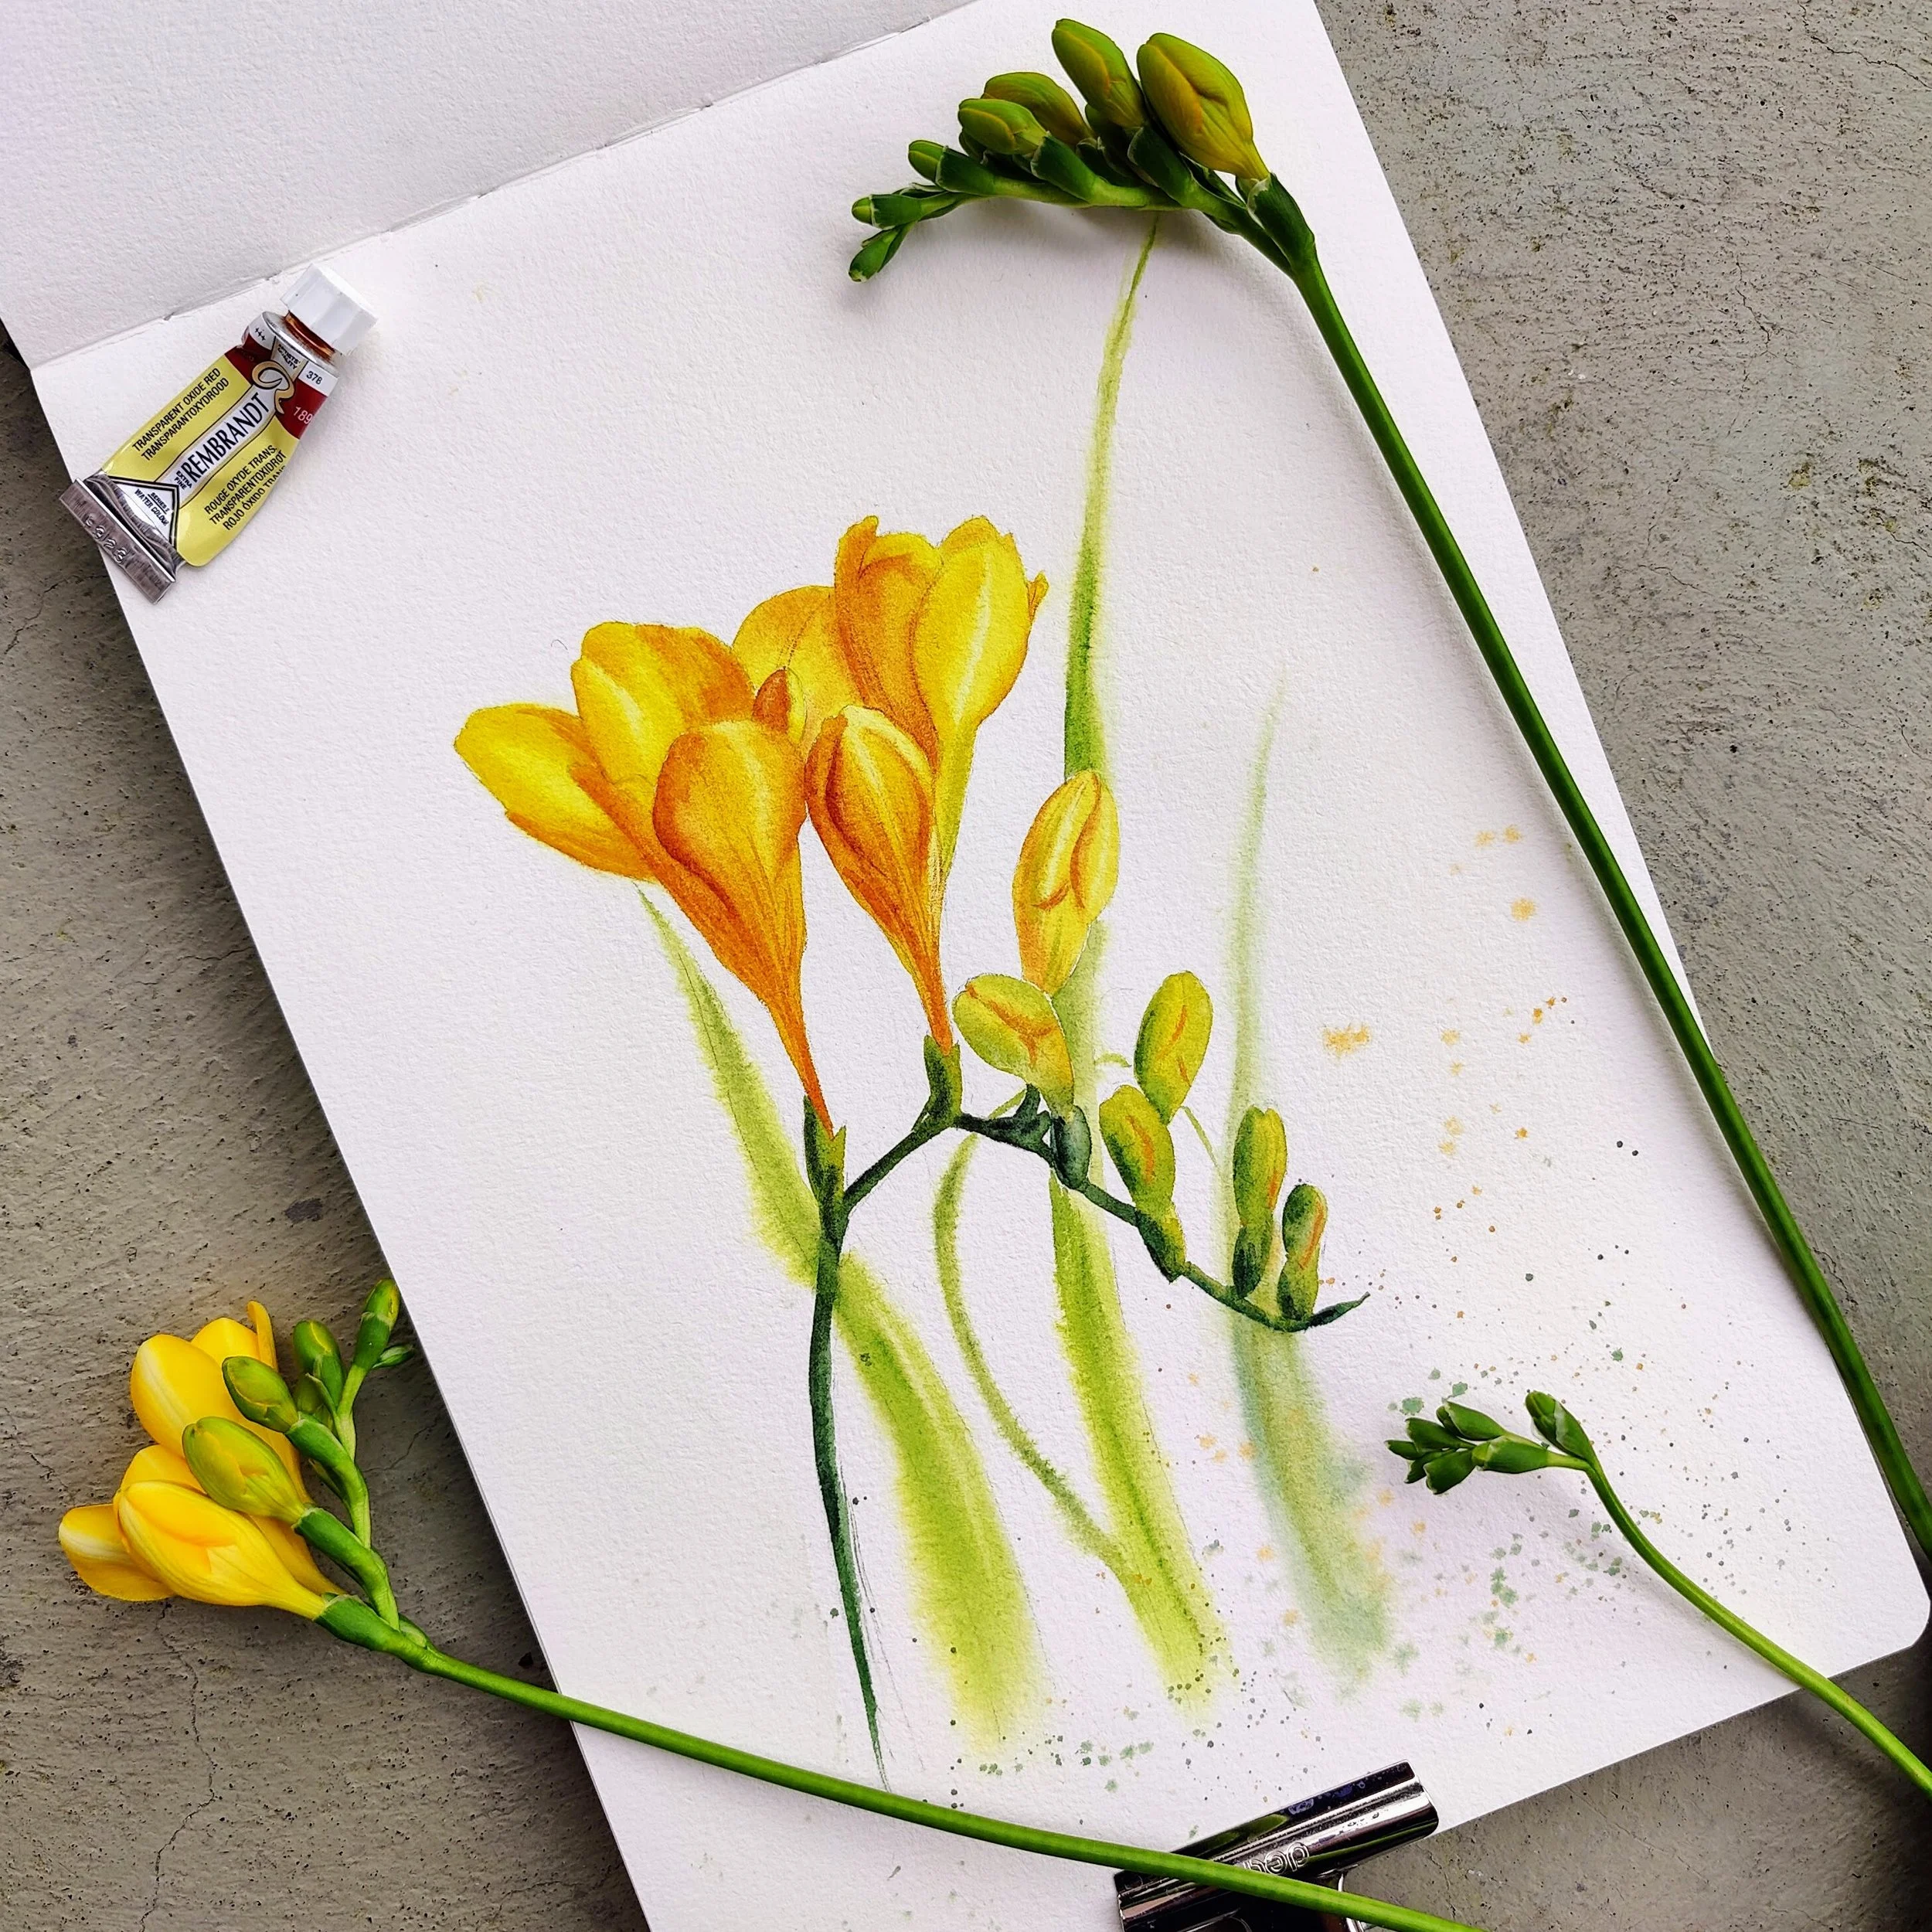
The exact supplies I used are not critical, but I've listed everything below. The main things to have available are some heavy cotton watercolor paper (I use Etchr sketchbook 300 gsm, 100% cotton), watercolor paint (either tube or pan), and a couple of brushes. Here’s the reference photo I’ve used.
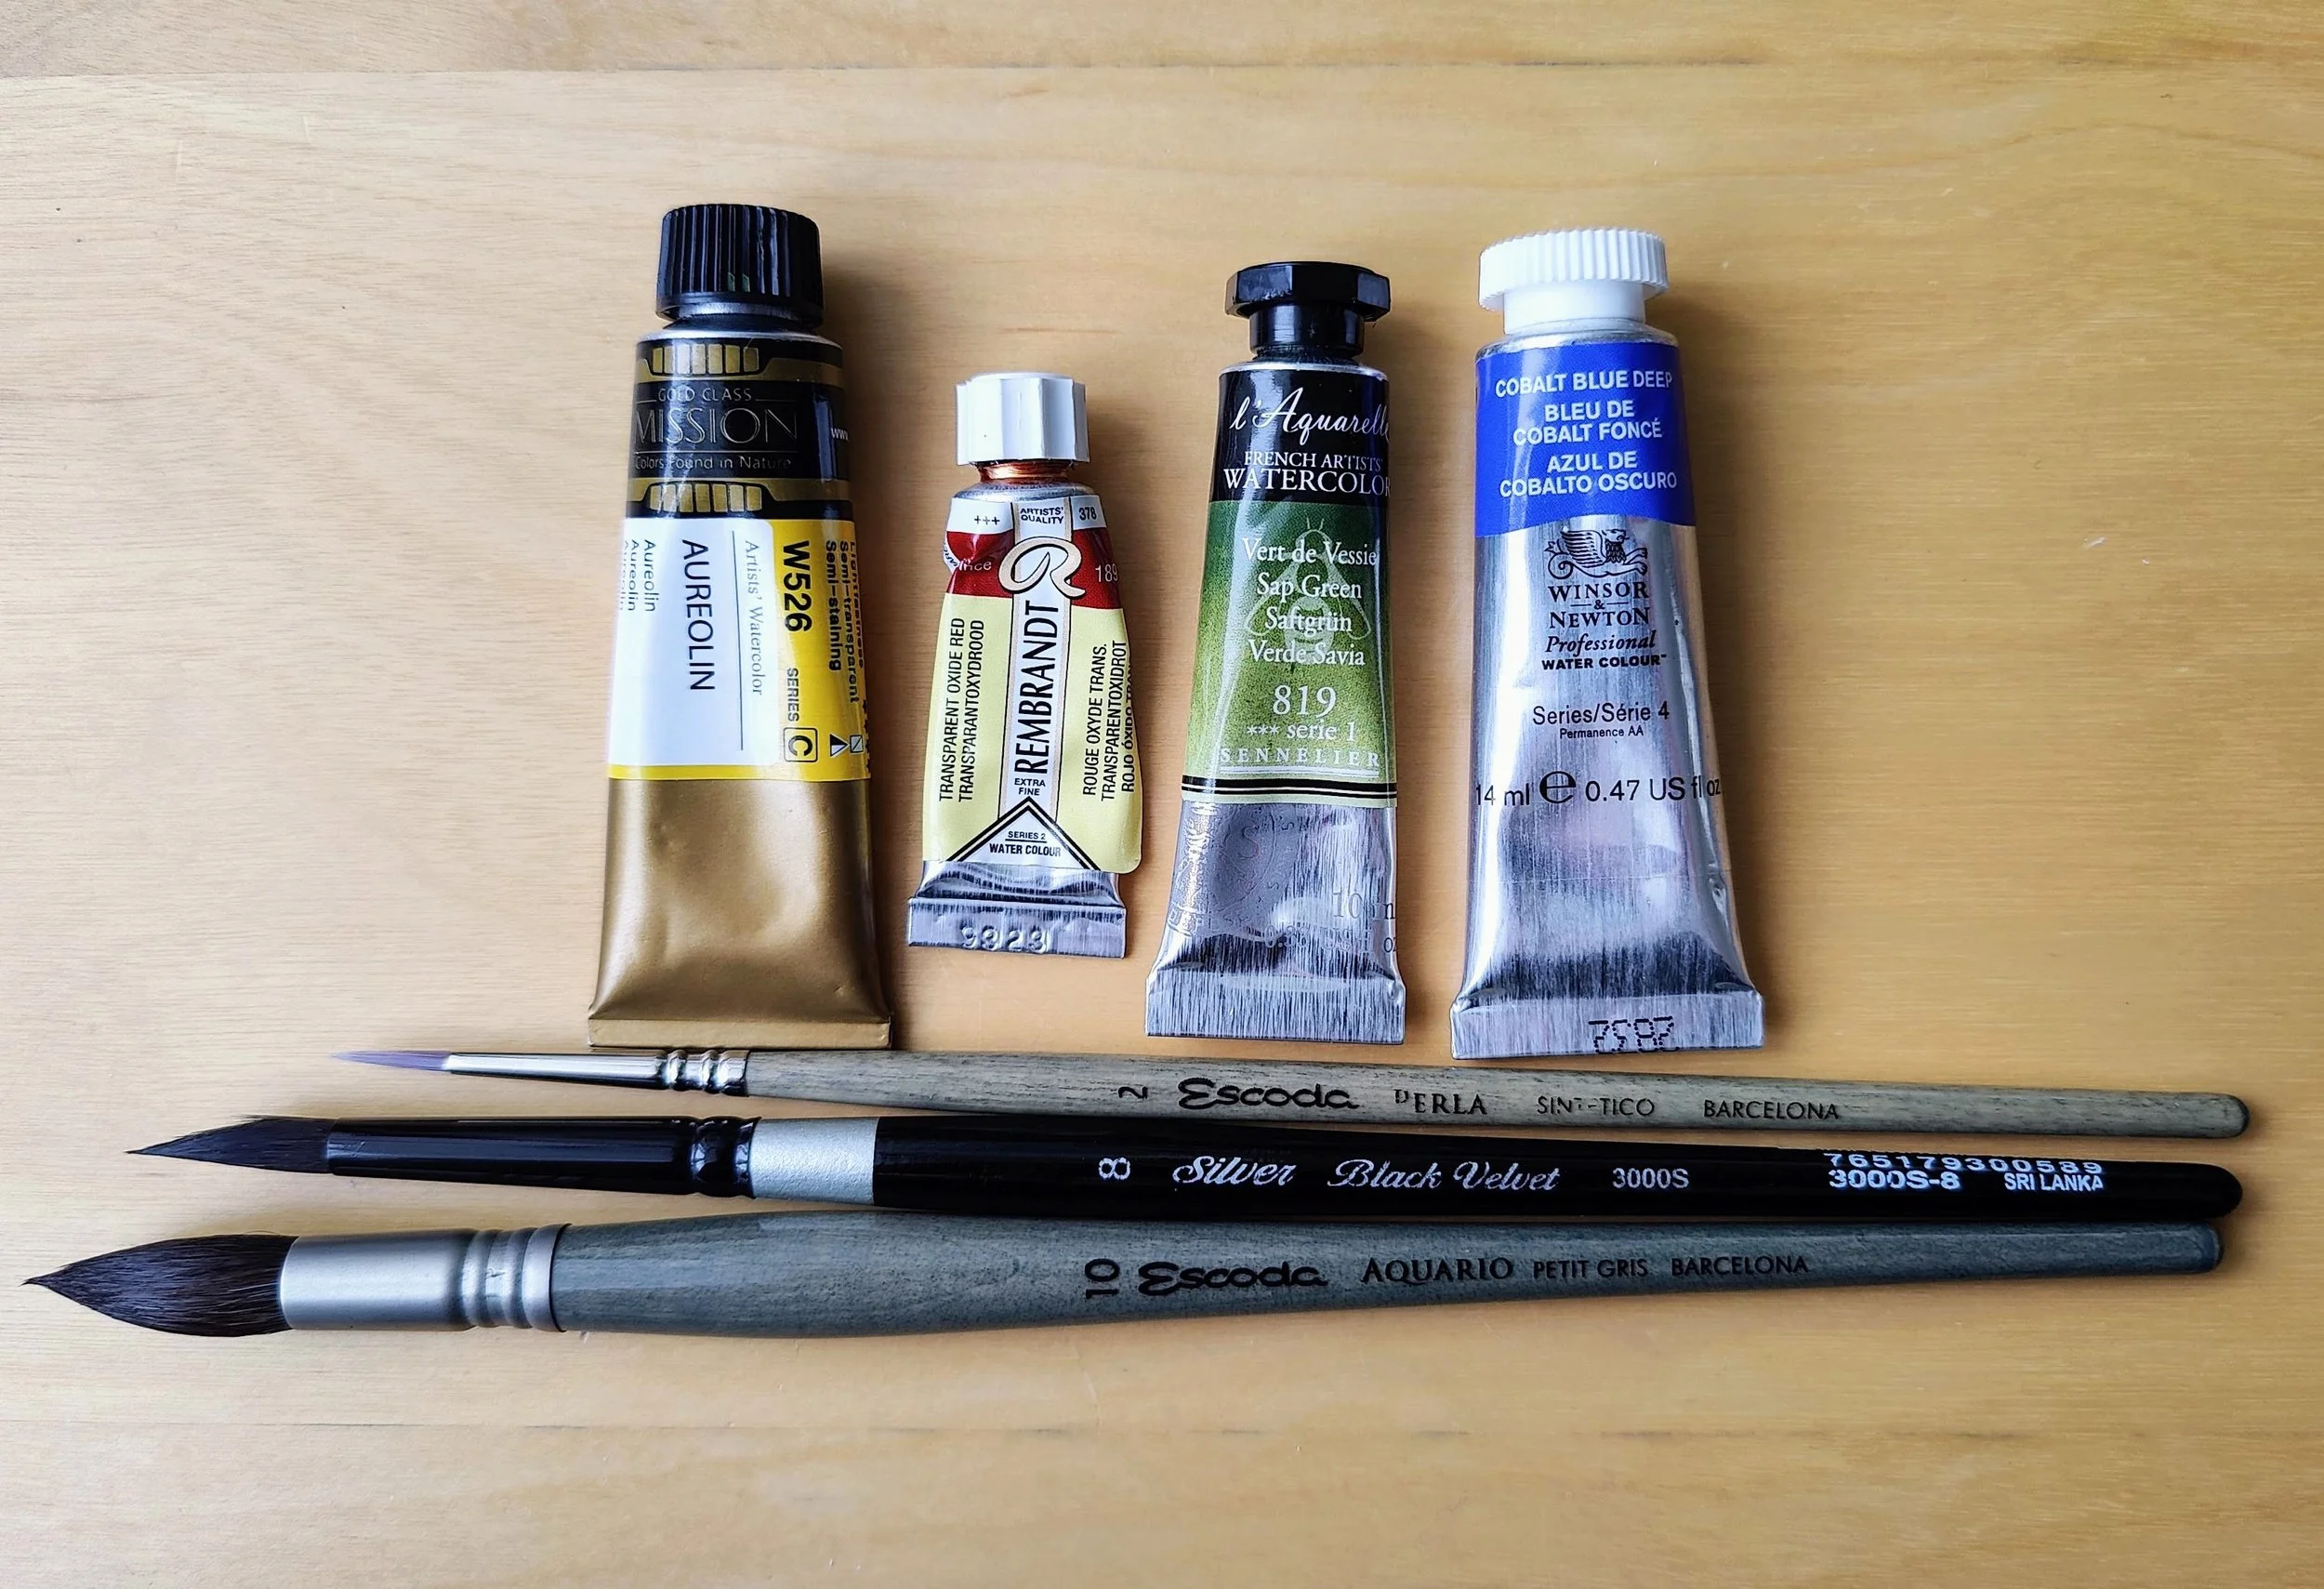
Supplies I Used:
Watercolor paper (Etchr sketchbook 300 gsm, 100% cotton)
Watercolor brushes (a big one for wetting your paper, one medium round brush, one small brush for details)
Watercolor palette (you can use a white ceramic plate)
Aureolin yellow (Mijello, Mission Gold)
Transparent oxide red (Rembrandt) (you can use burnt sienna)
Sap green (Sennelier)
Cobalt blue (Winsor&Newton)
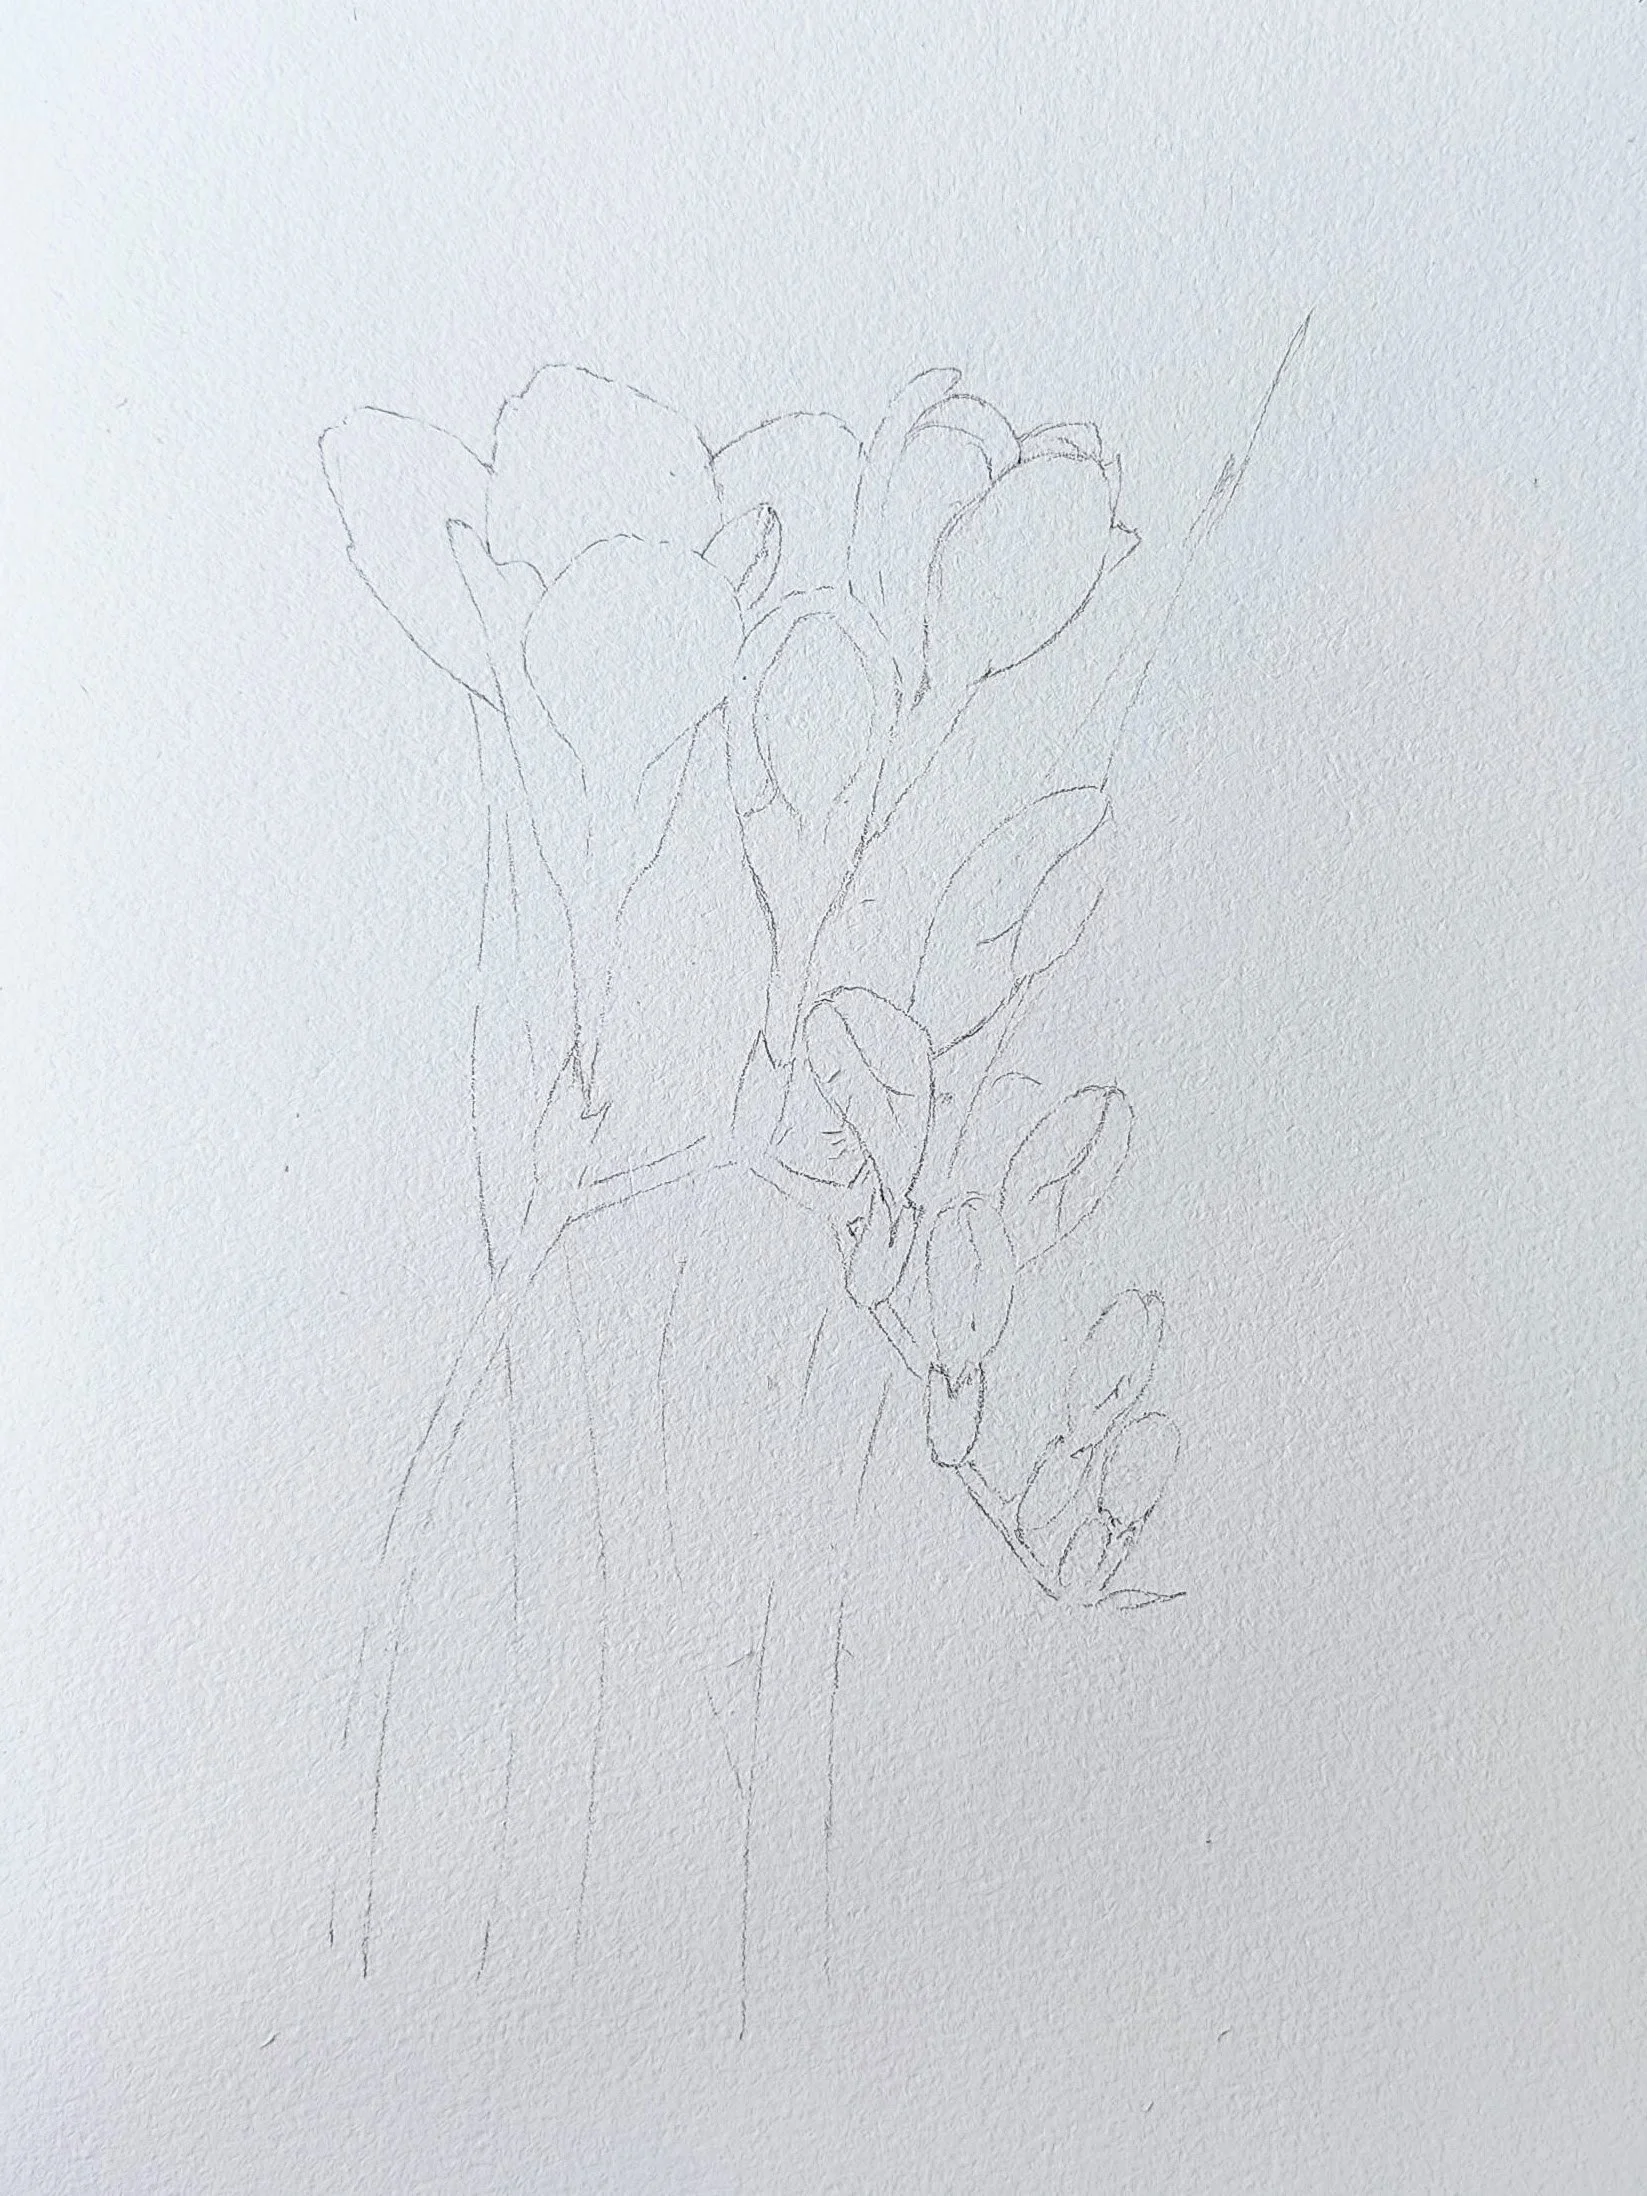
Step 1. Pencil sketch
First, I sketched the freesia. If you would prefer to use a different reference picture, feel free to do that of course! I chose this one, because I liked that it has a couple of open flowers and lots of buds.
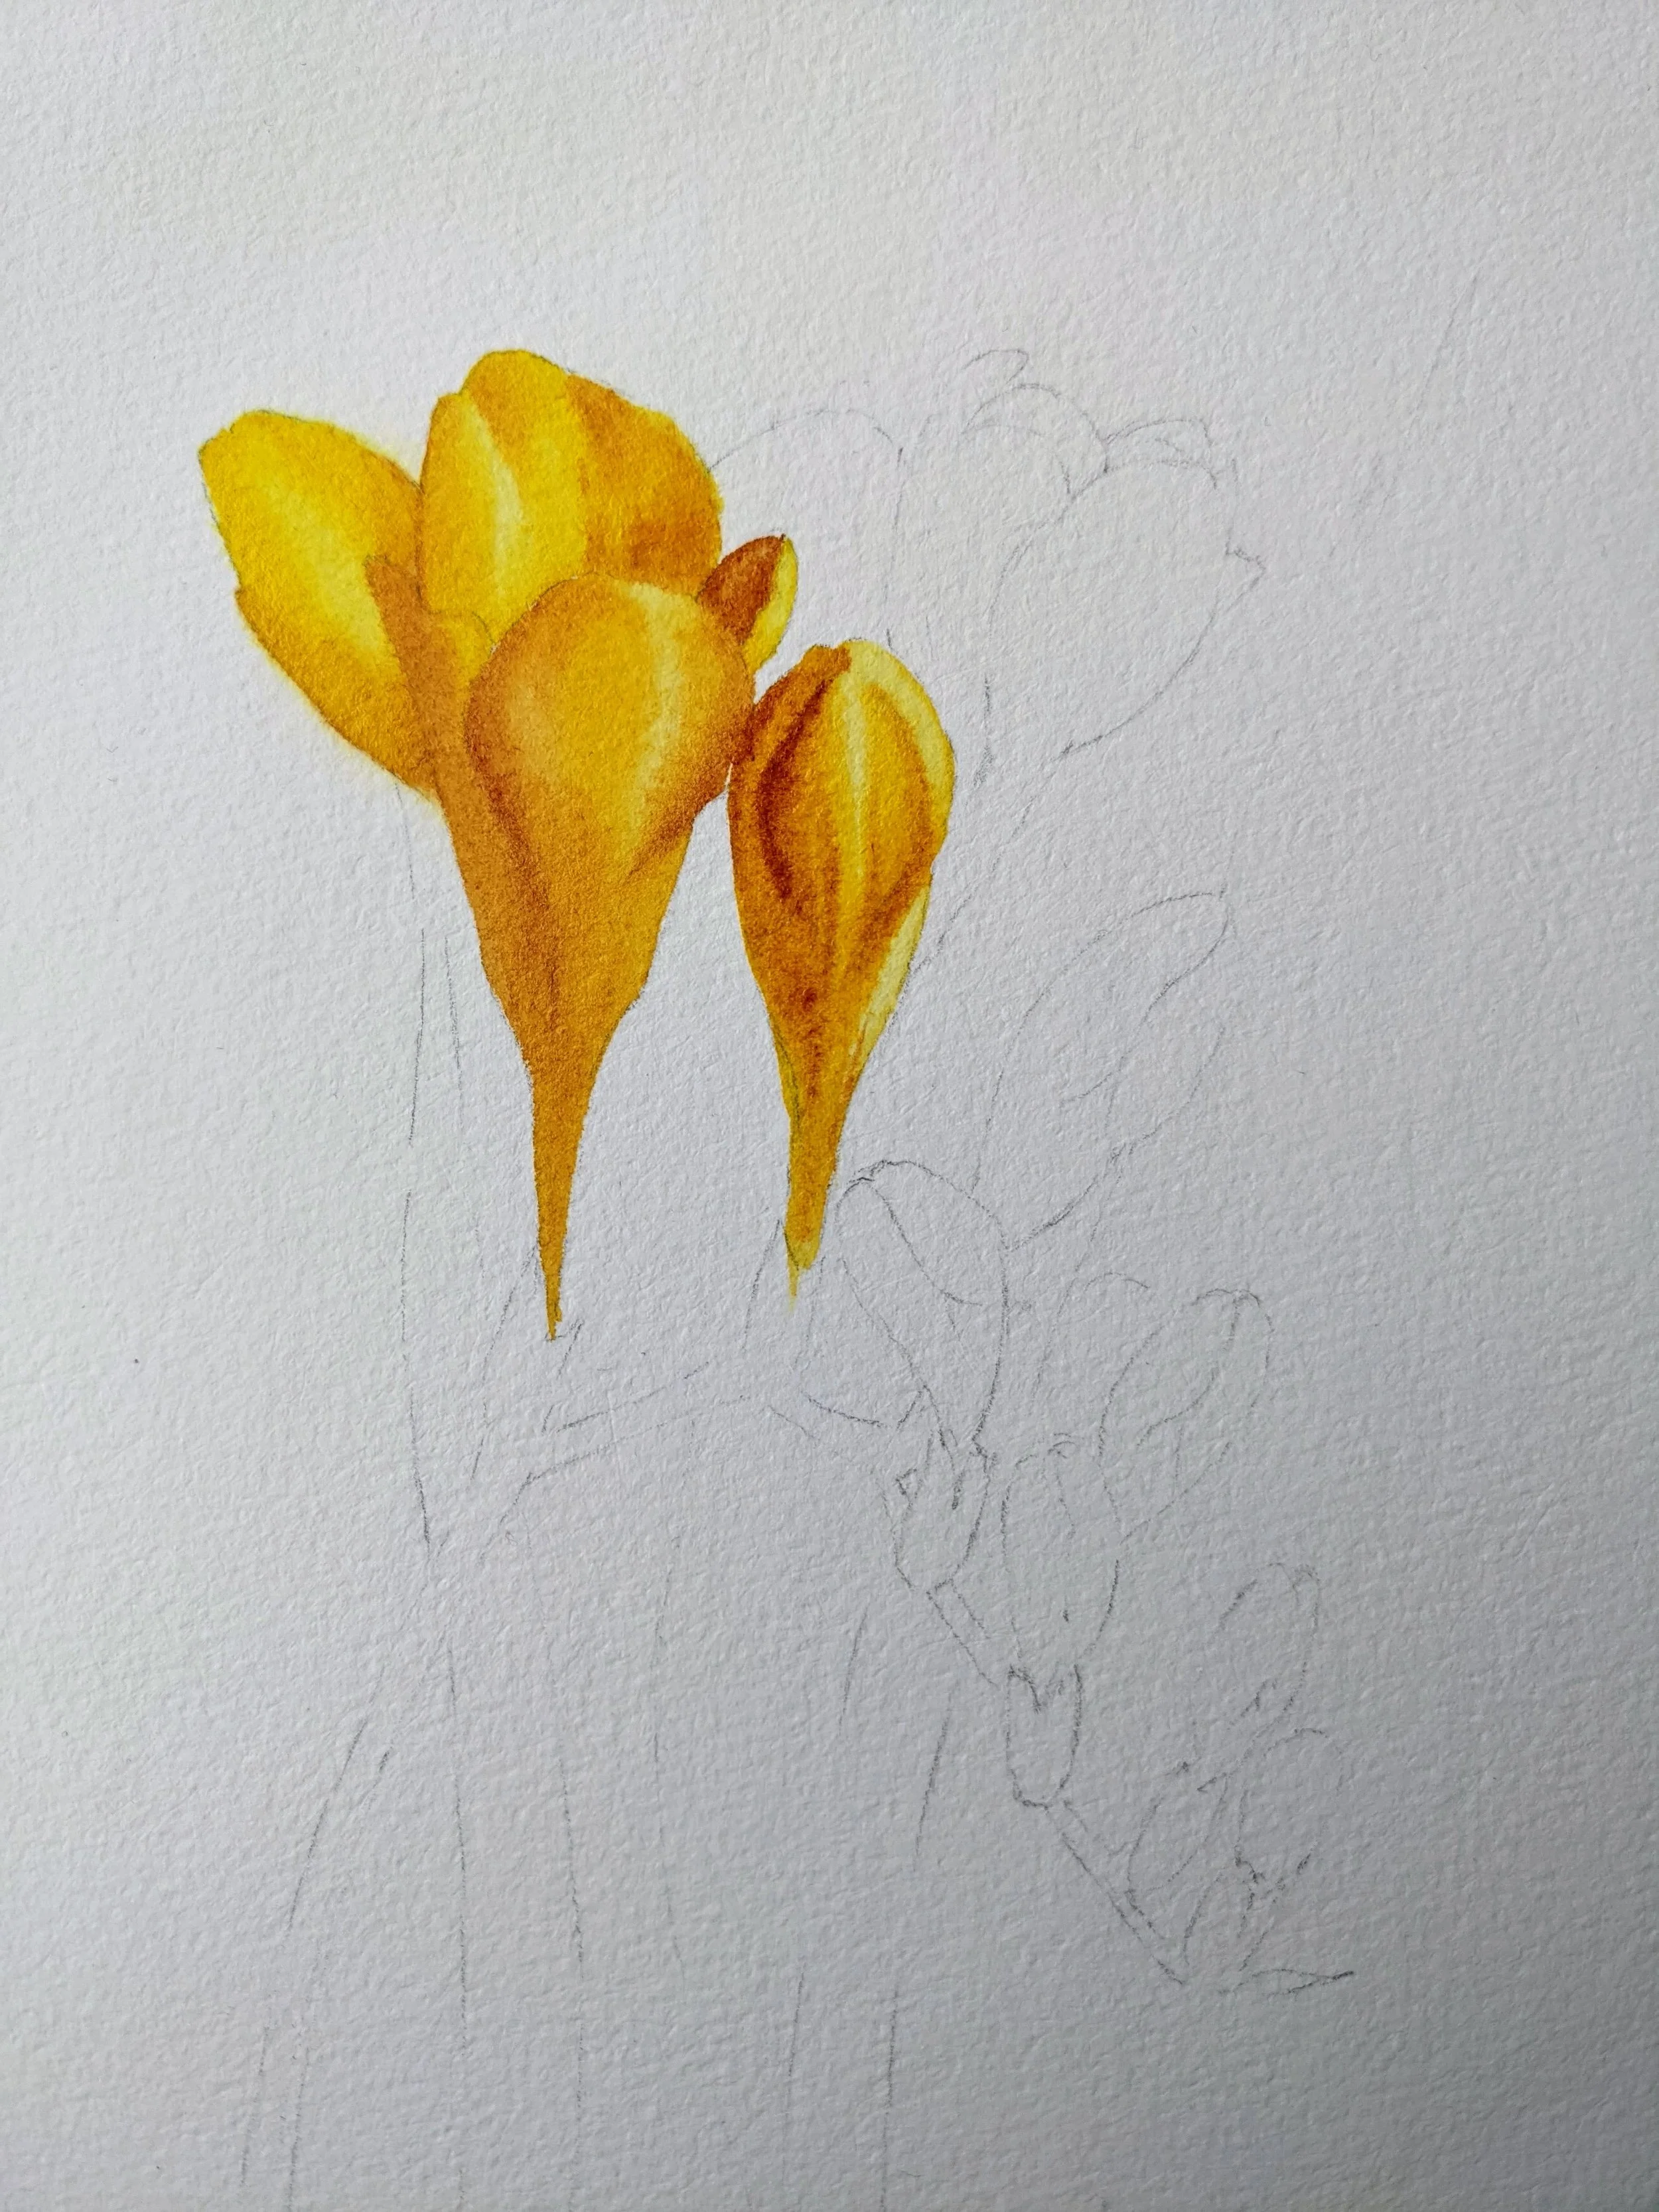
Step 2. First two flowers
I start working from petal to petal first applying just a thin layer of yellow, then adding a thicker layer of yellow (which means I don’t dilute it with water) to the areas where we have some lighter shadows. And then for the darkest areas I mixed in a bit of transparent oxide red. It’s important to work in little sections while the paper is still wet, because we want all the three shades to mix on paper and flow one into another creating softer edges and smooth transitions.
Instead of transparent oxide red you can use burnt sienna or even a bit of red. I discovered this pigment recently and I love mixing it together with yellow for shadows, because it doesn’t leave them looking dull. So if you like to paint yellow florals it’s a must-have ;)
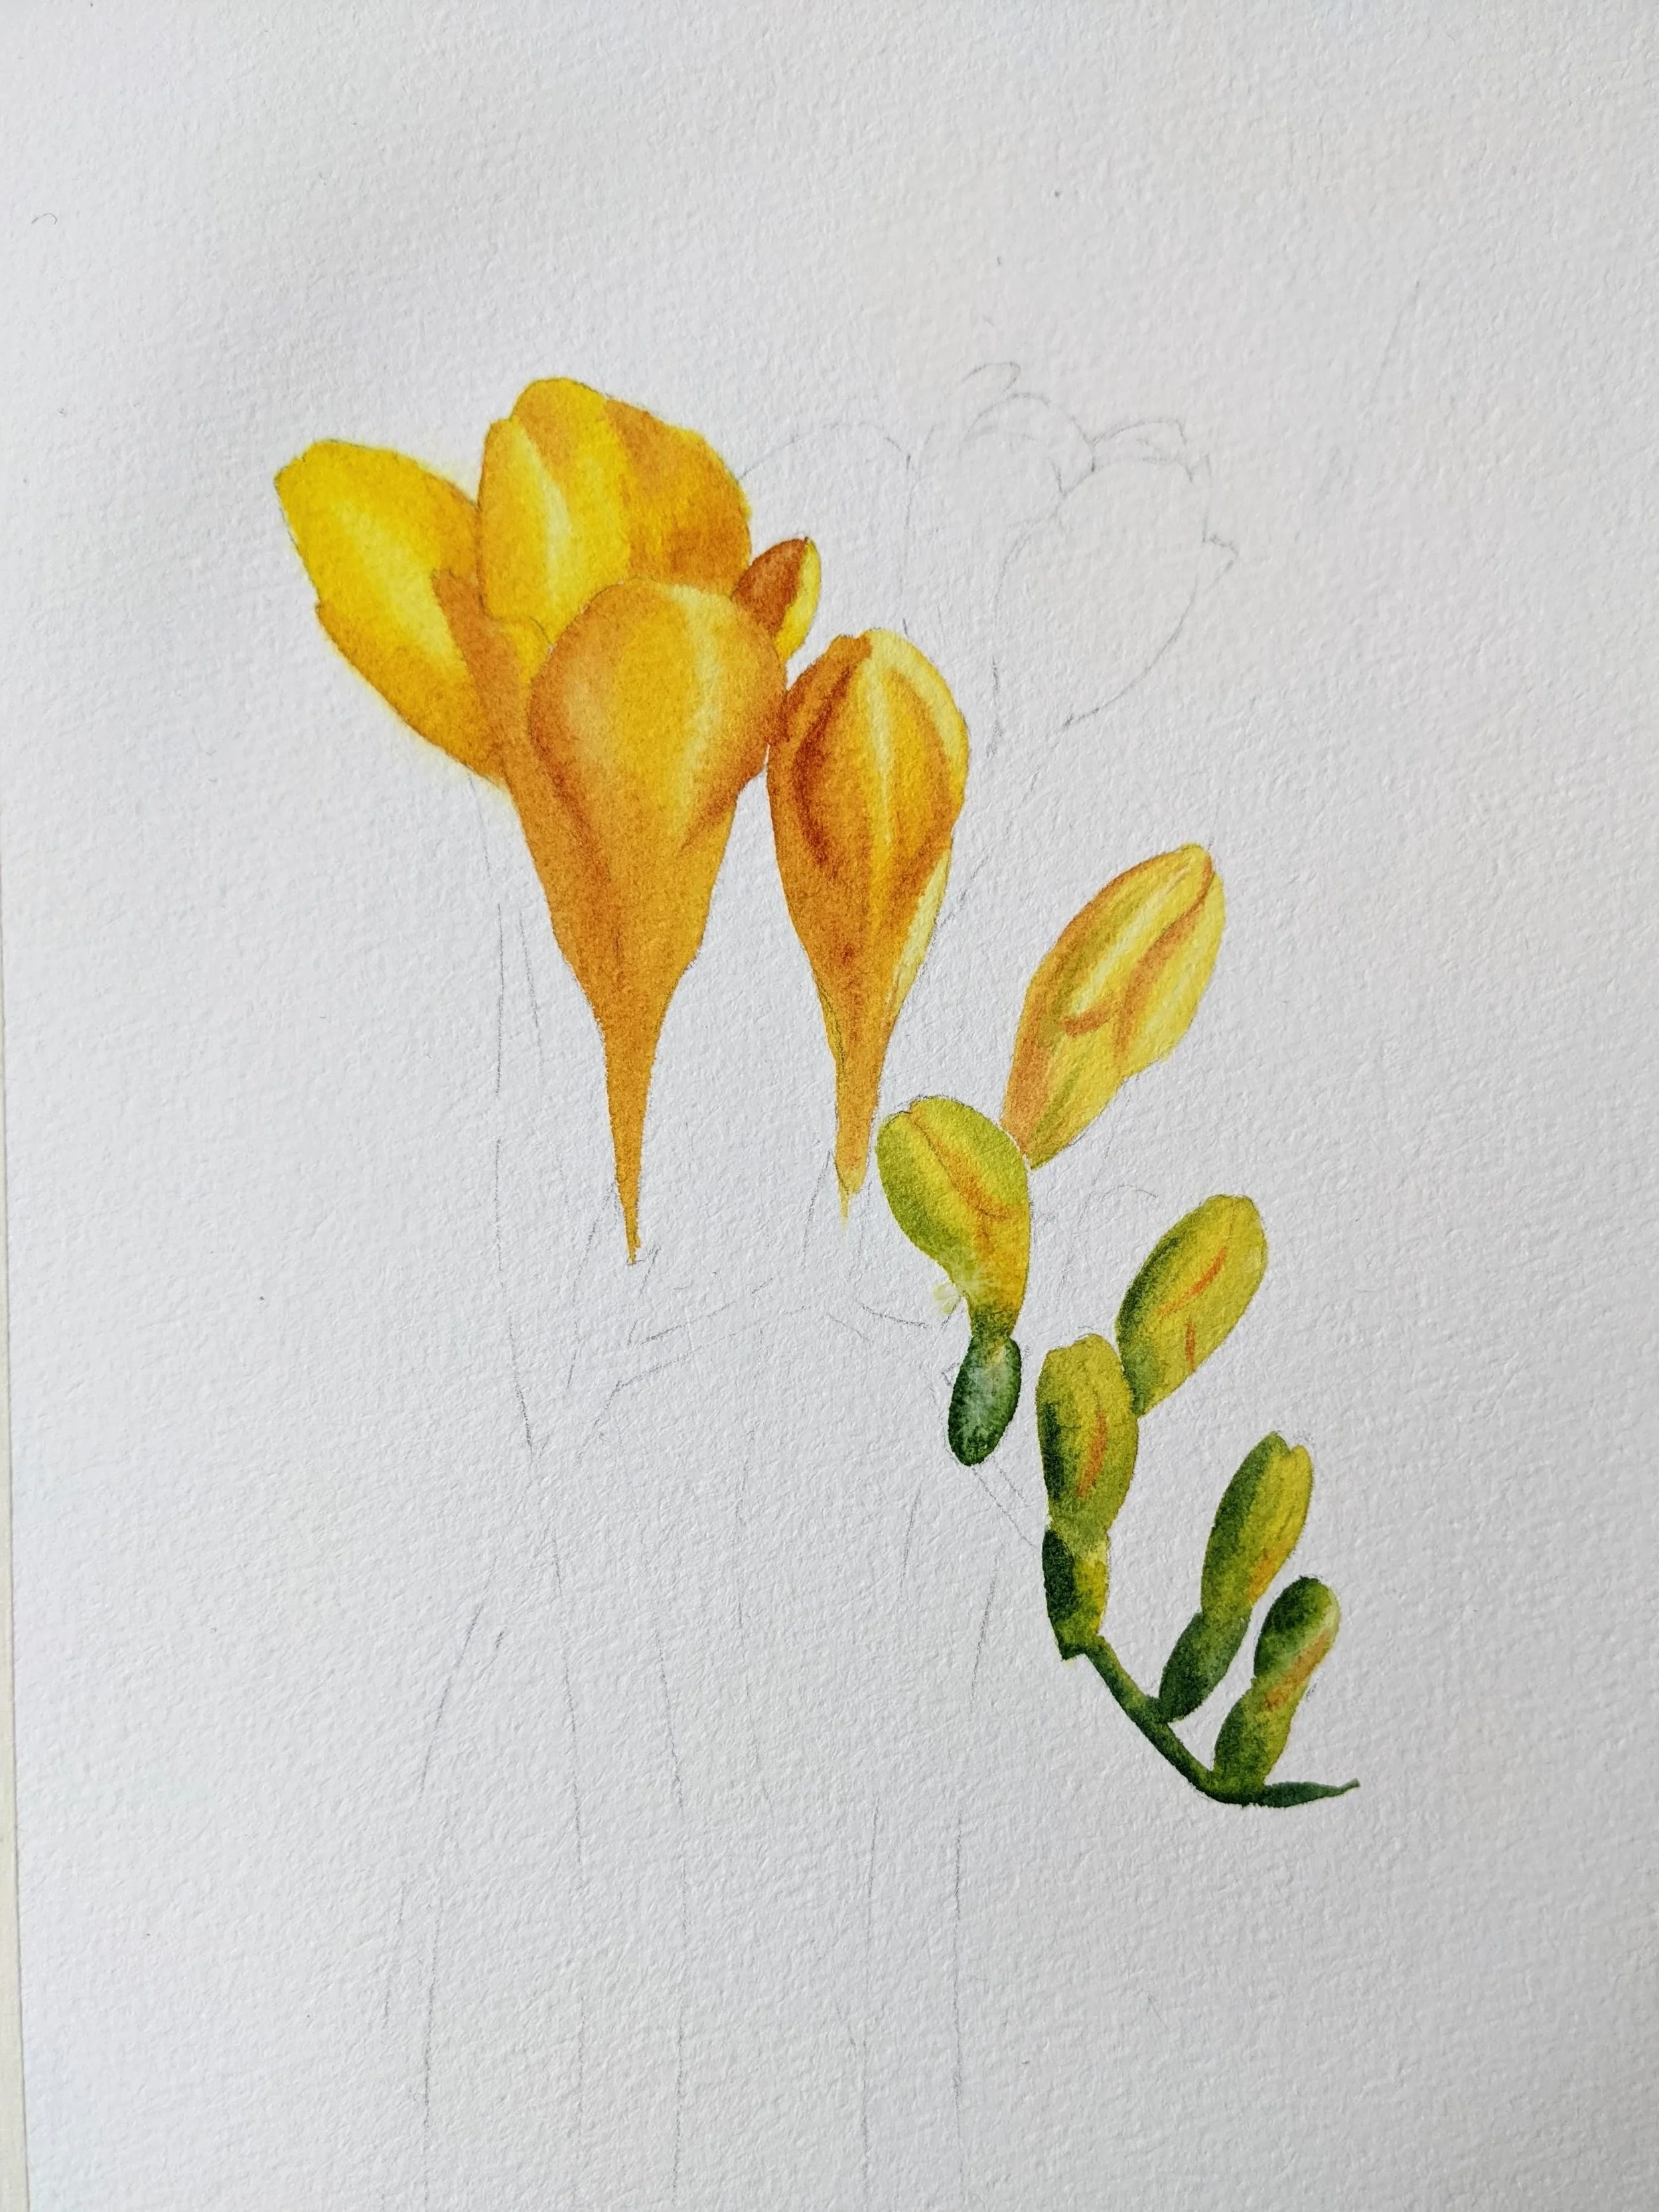
Step 3. Flower buds
Now I move to the next flower buds, leaving the open flower (the one behind the second bud) unpainted for now, because we want this area to dry first.
For the buds I use the same technique: first thin layer of yellow, then adding some transparent oxide red into the mix for the shadows and for the last two buds I also added some sap green.
If we want our green to look more bright and warm we mix it with yellow, but for the shadows we want it to be darker and cooler that’s why we have to add some blue into it. I used cobalt blue to deepen the greens.

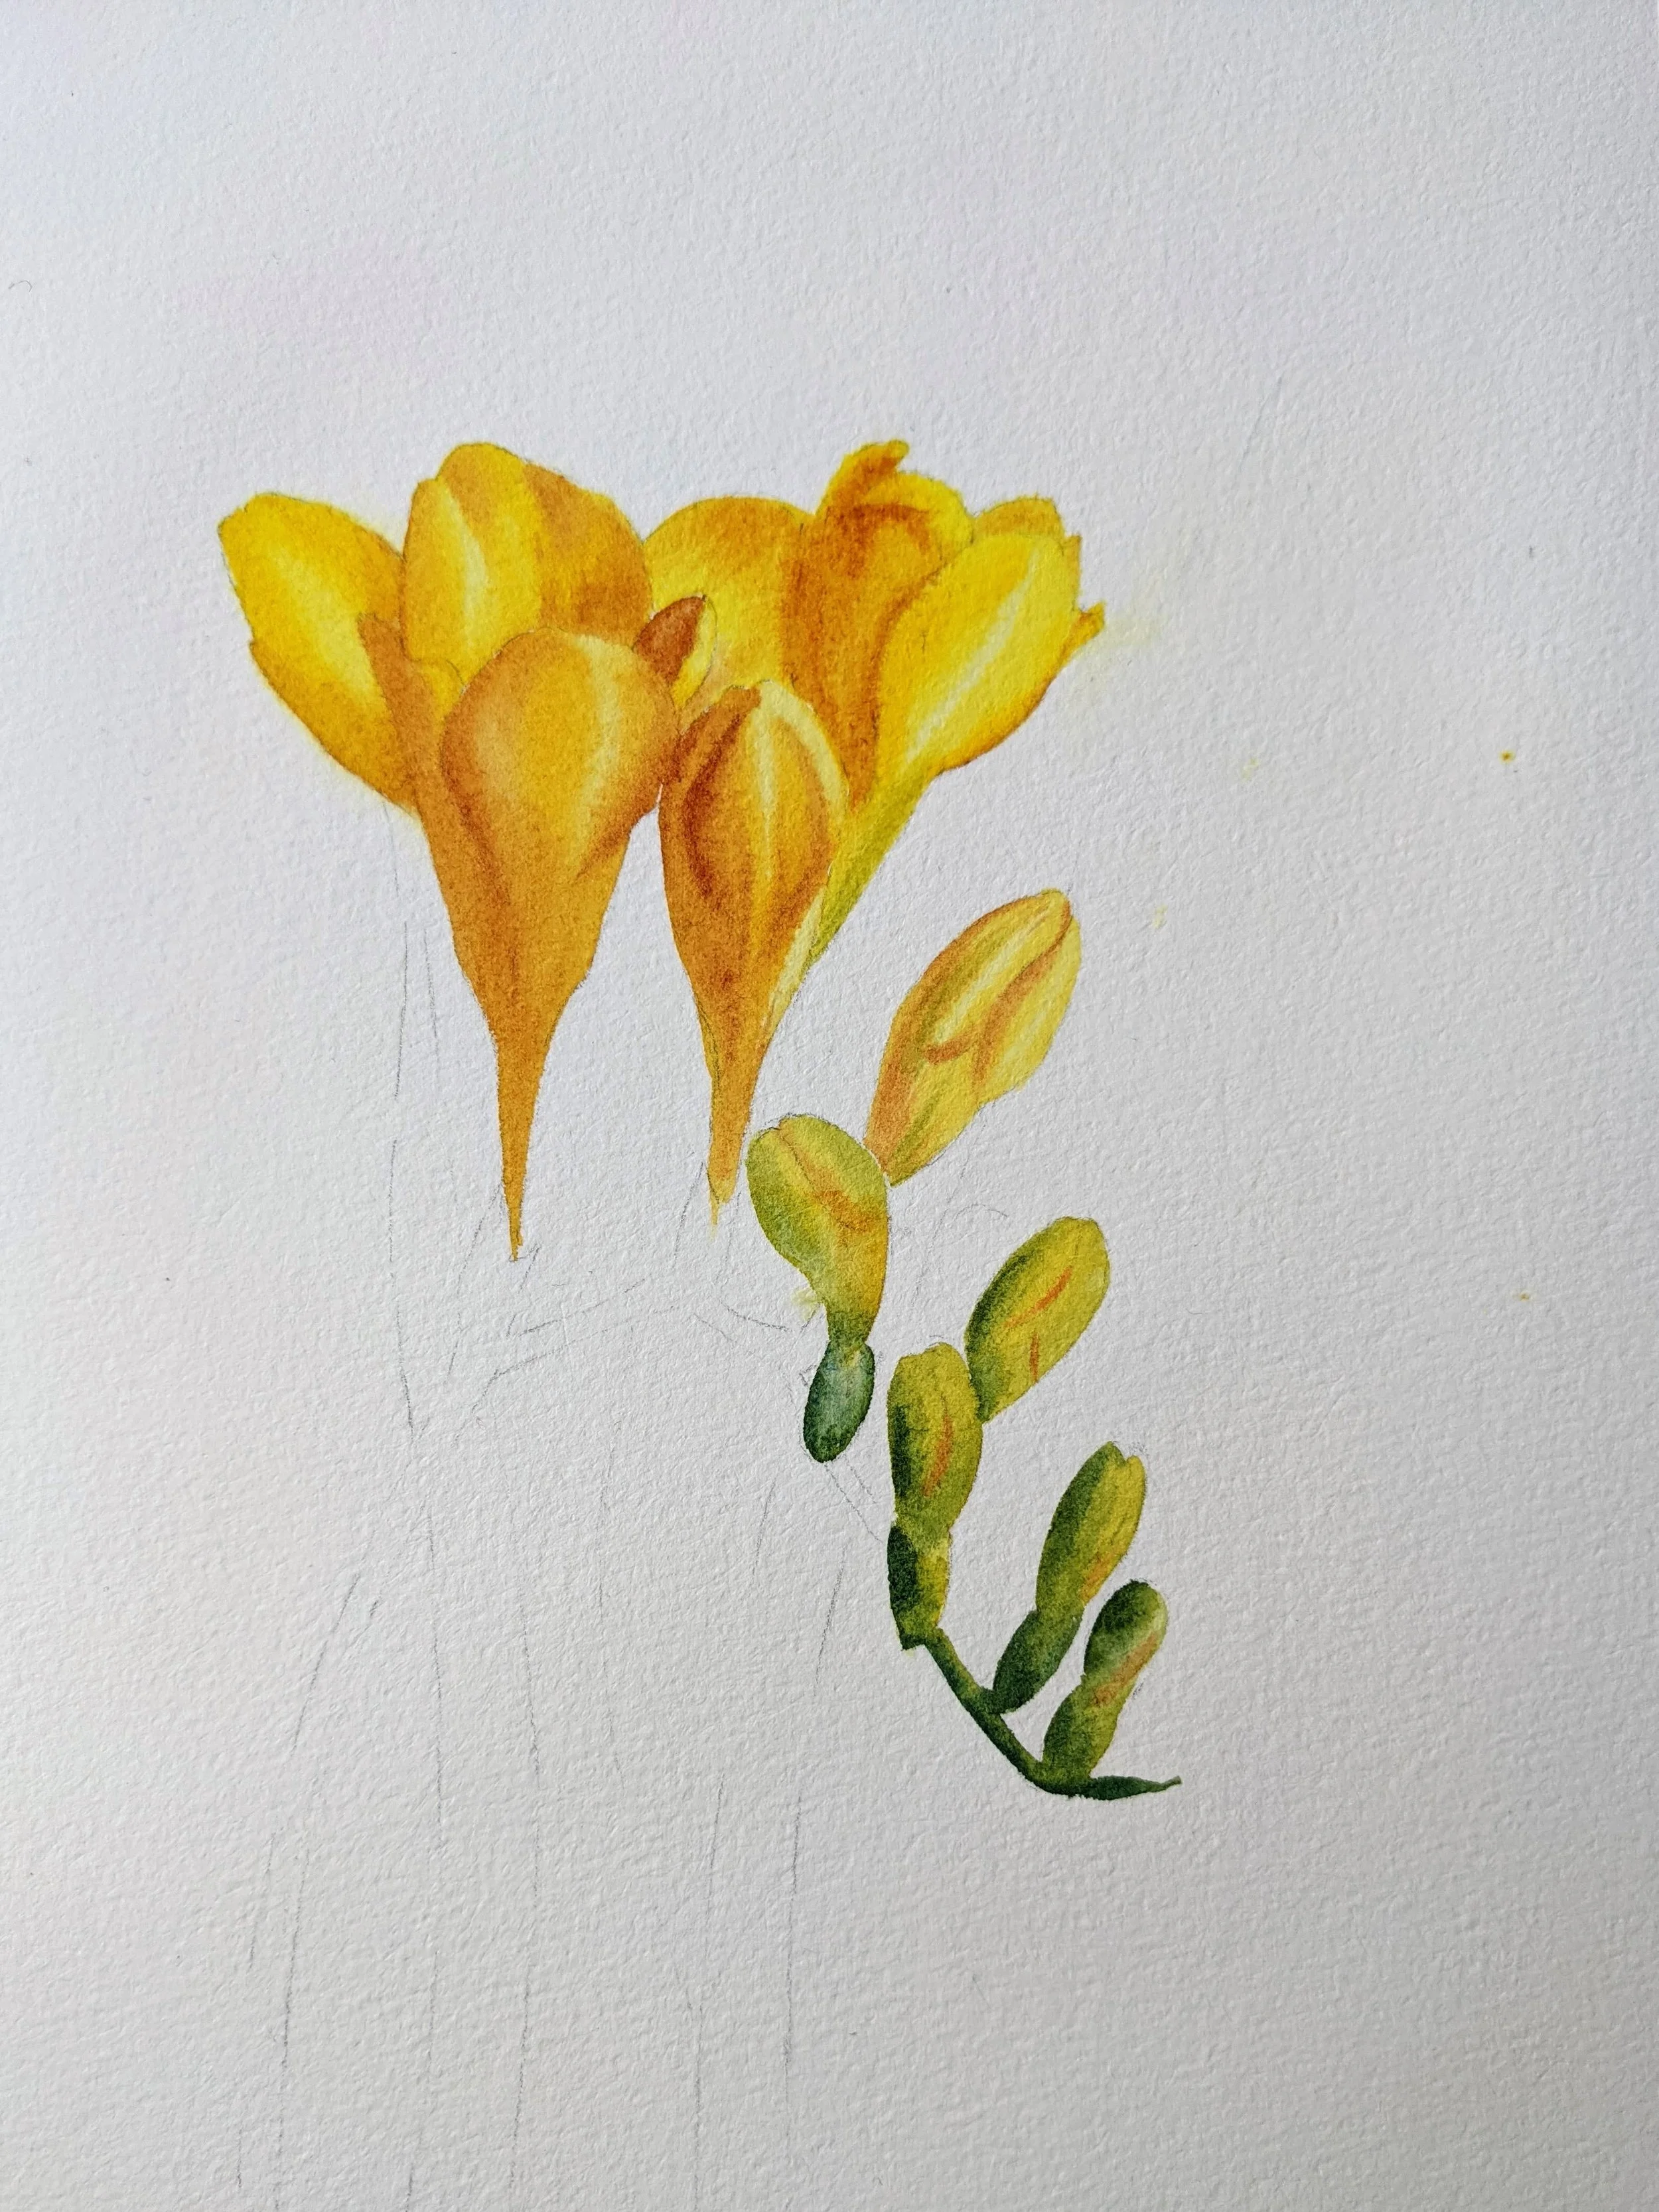
Step 4. Finishing the rest of the flower buds
I used the same technique for the rest of the flower buds, keeping in mind that they are mostly green, that’s why I used less yellow here and more sap green+cobalt blue for the shadows. I also started to paint the stem using a thick mix of cobalt blue and sap green.
Step 5. Painting the last flower
Now to the final open flower. Here I didn’t work from petal to petal, but rather filled the whole area with yellow first, then added some deeper shades and shadows. The reason for this is because this flower is behind the “main” ones and rather out of focus for the viewer, so it’s not as important to paint it in detail.
Step 5. Finishing the stem and adding leaves
Now to the final steps. First I finished the stem with a thick mix of sap green and cobalt blue. Then I let it dry completely and then wet the paper, because I wanted the leaves to be blurry and out of focus. Then while the paper is still wet I used sap green (mixed with a little bit of yellow) to paint a couple of leaves in the background.
And of course no painting is complete without some splashes! I feel like splashes make every painting more fun and bring it to life! ;)
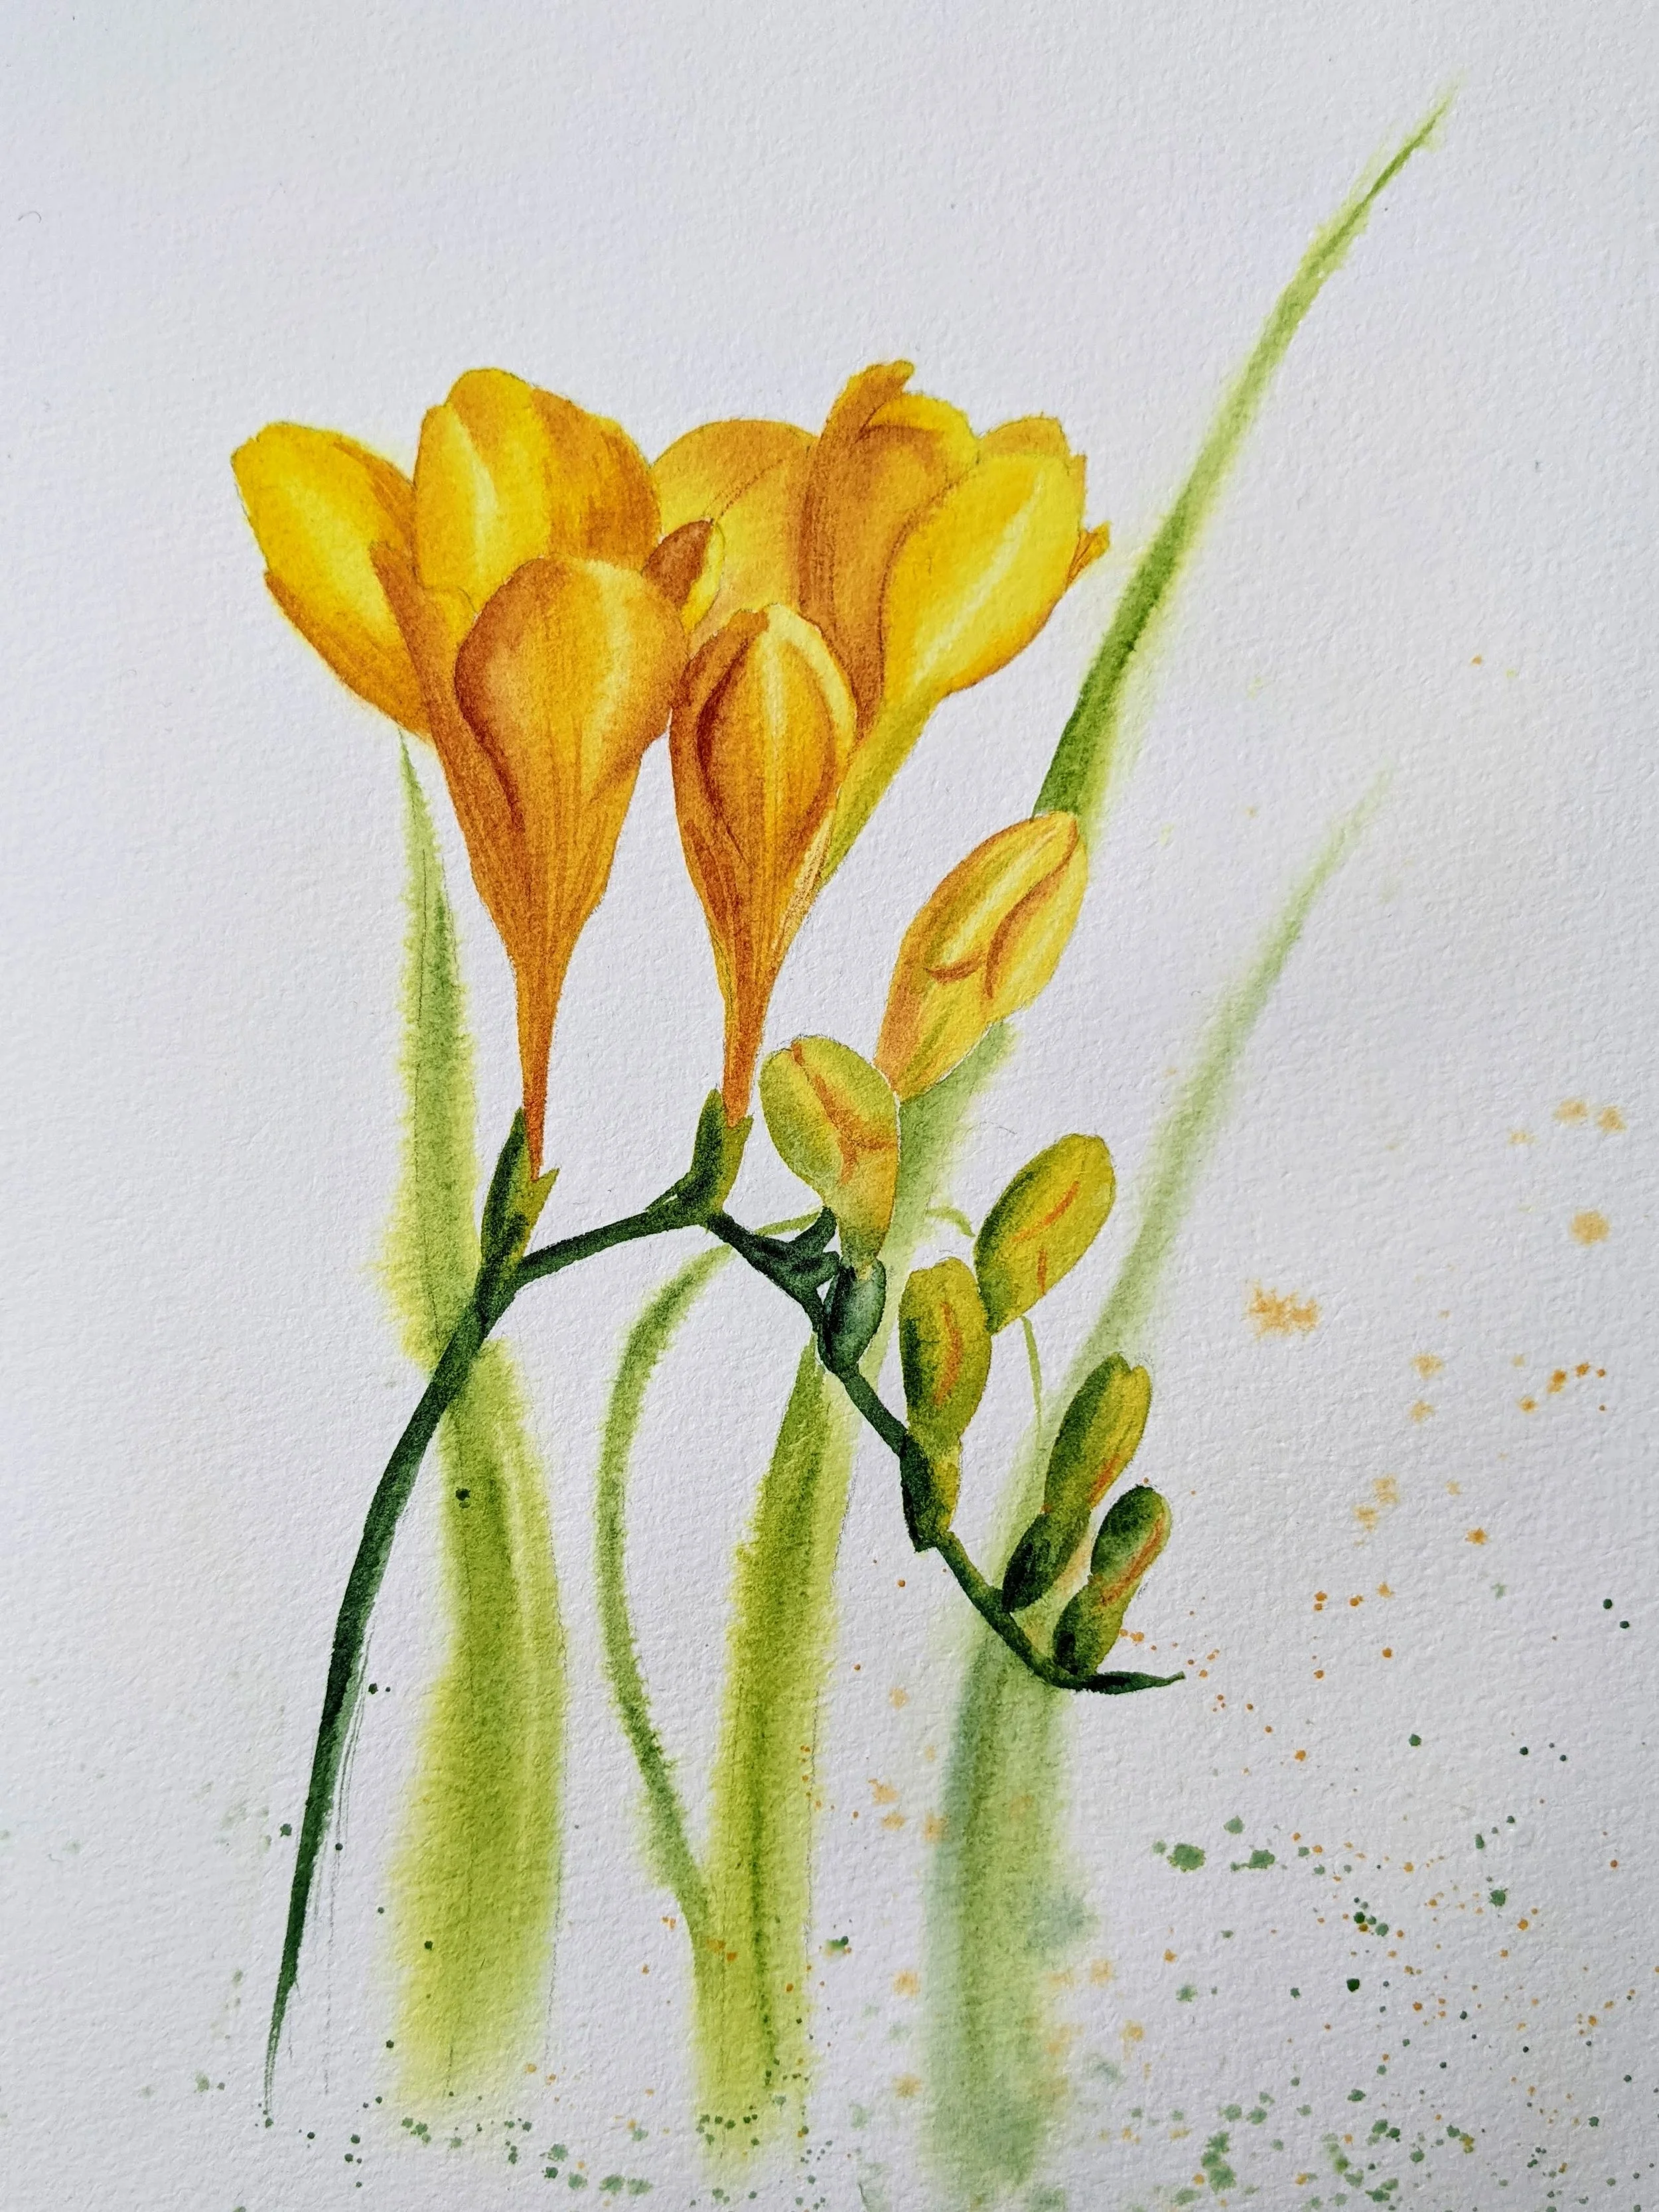
And voila! We are done!
And there you have it, a stunning yellow freesia painting that’s sure to brighten up your day! Thanks for following along and I can’t wait to see your beautiful artworks!
If you're interested in learning watercolor more seriously, I regularly offer private in-person watercolor workshops in my home studio in Adliswil or group watercolor workshops in Zürich. Subscribe to my newsletter and Instagram to get the announcements!